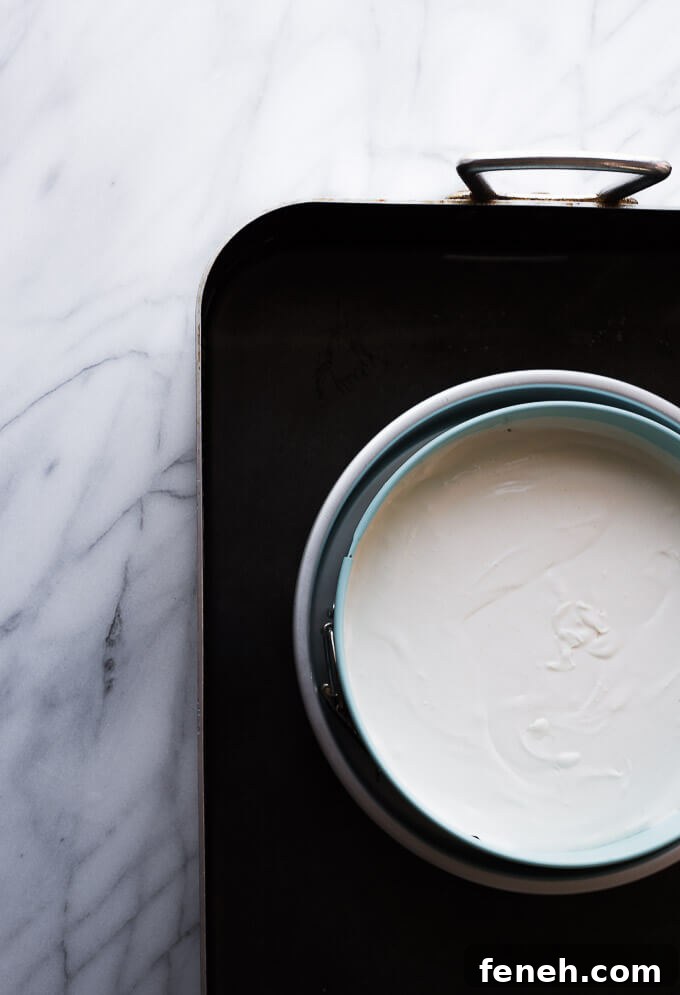
Using a water bath when baking a cheesecake helps it cook evenly, stay moist and reduces cracking. The gentle, even heat keeps the top flat and produces a smoother texture every time.
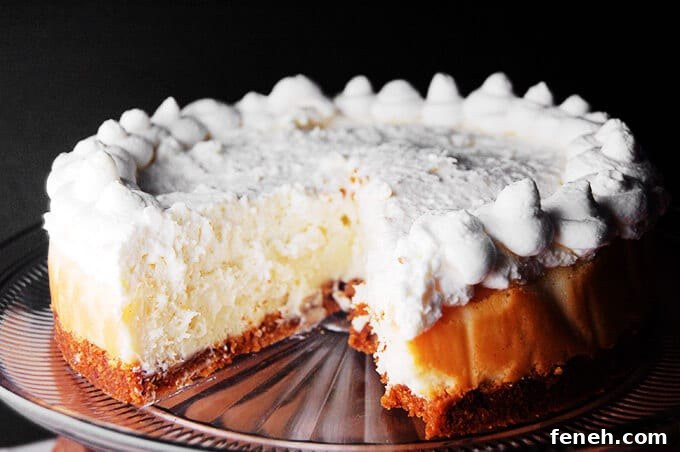
I use a water bath for nearly every cheesecake I bake and highly recommend it. A properly made water bath creates a consistent temperature around the cake, so the edges won’t overcook while the center finishes baking. If you enjoy cheesecakes in a range of flavors, a reliable water bath will improve texture and appearance across the board.
What is a water bath?
A water bath — sometimes called a bain-marie — is simply a larger pan of hot water placed in the oven with your cheesecake. The cheesecake pan sits inside or next to that pan so the surrounding water supplies moist, even heat. This technique is widely used for delicate custards, puddings and cheesecakes because it prevents sudden temperature spikes and helps maintain an even bake.
Why use a water bath?
Think of a water bath as a gentle, humid climate for your cheesecake. The hot water buffers the oven’s dry heat and moderates temperature changes, which keeps the filling tender and reduces the risk of cracks. Because the heat transfer is more gradual, the edges and center finish at the same time, giving the cake a consistent, creamy texture and a smooth, flat top.
In short, a water bath promotes even cooking, prevents a dry or overbaked rim, and minimizes surface cracking — all results that make for a prettier, better-tasting cheesecake.
Step-by-step instructions
Follow these simple steps to create a leak-proof water bath that won’t ruin your crust.
1. Prepare the oven and roasting pan. Place a large roasting pan in the oven while it preheats. Heating the roasting pan first makes it easier to add hot water without cooling the oven too much.
2. Protect the springform pan from water. Many bakers wrap the bottom of a springform pan in foil to stop leaks, but foil can sometimes fail. A more reliable method is to nest the springform pan inside a slightly larger cake pan. Choose a cake pan at least 1 inch larger in diameter than your springform pan so the outer pan surrounds the springform and acts as a barrier to water.
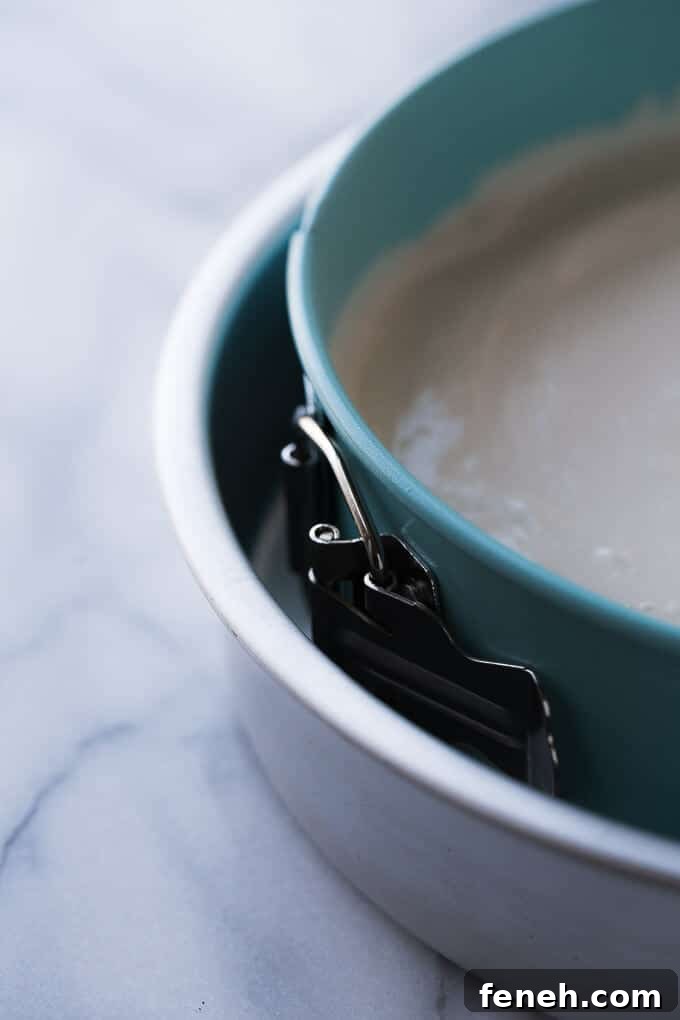
Set the filled springform into the larger cake pan before placing both into the hot roasting pan. This nested arrangement prevents hot water from seeping into the crust while still allowing the surrounding water to moderate the baking environment.
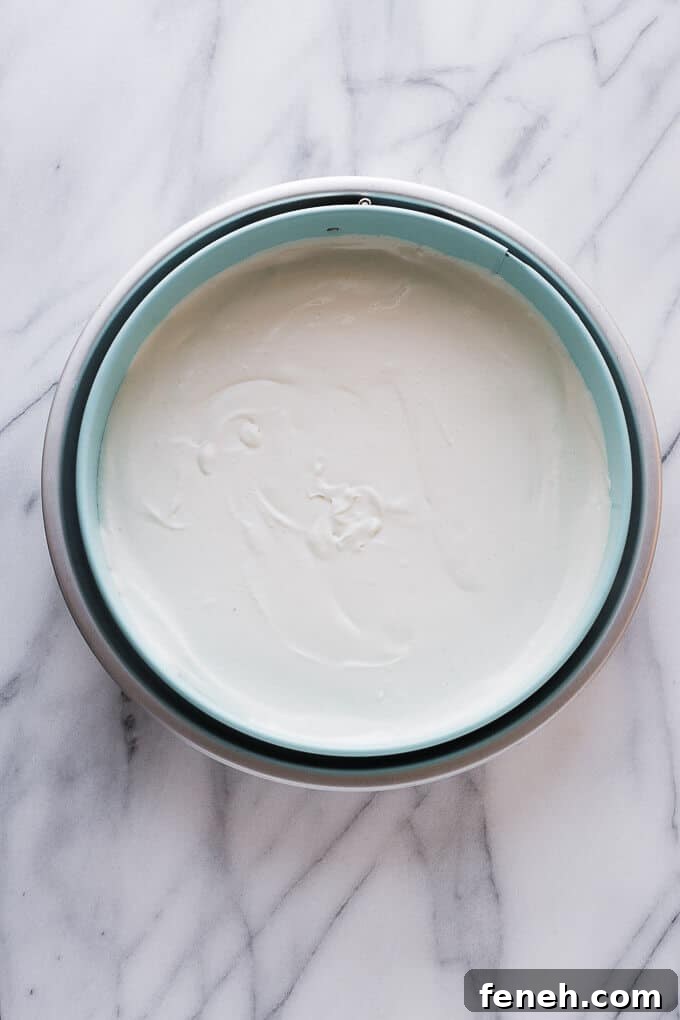
3. Add hot water carefully. Use the hottest tap water you have and pour it into the roasting pan slowly, taking care not to splash water into the cake pan. Aim for the water level to rise about halfway up the outside of the cake pan. Filling the roasting pan while it’s already in the oven minimizes heat loss and keeps things steady.
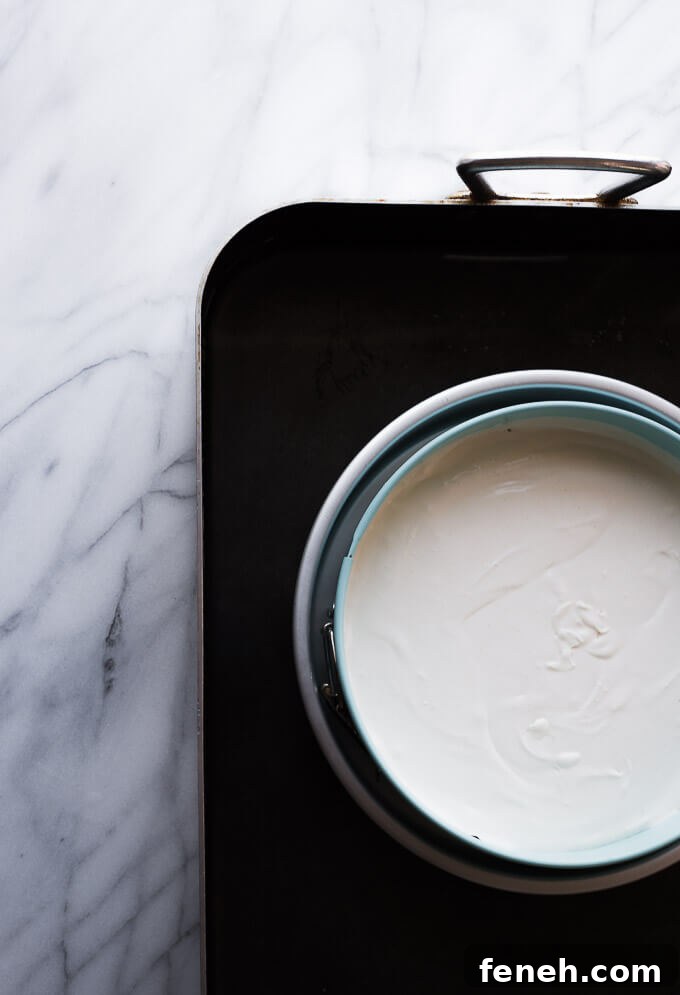
4. Bake according to your recipe. Close the oven and bake the cheesecake as directed. The water bath will regulate the surrounding temperature and help the cheesecake set uniformly. When the baking time is up, remove the roasting pan from the oven and lift the cake pan out carefully — avoid pouring any water onto the cake surface.
If you’ve ever baked a cheesecake only to find the crust turned soggy from water intrusion, this nested-pan approach will solve that problem. The outer cake pan keeps water away from the crust while still giving the filling the gentle moist-heat it needs.
How to Create a Leak Proof Water Bath
Here are concise details and a quick checklist to follow every time.
Prep Time: 5 mins
Total Time: 5 mins
Equipment
- Large roasting pan (wide enough to hold the cake pan)
- Springform pan (commonly 9 inches)
- Outer cake pan at least 1 inch larger in diameter than the springform pan (for example, a 10-inch pan if your springform is 9 inches)
- Pitcher or kettle of very hot water
Instructions
- Place a large roasting pan in the preheated oven.
- Prepare and fill your springform pan with the cheesecake batter. Set the filled springform pan into the larger cake pan so it sits securely inside.
- Put the nested pans into the hot roasting pan in the oven. Carefully pour very hot water into the roasting pan until it comes about halfway up the side of the outer cake pan. Be careful not to splash water into the cake pan.
- Bake the cheesecake following your recipe directions. When baked, remove the pans from the oven and lift the cake pan out of the water bath to cool.
With this method you’ll get a more even bake, a moist interior and a smooth, crack-free top. It’s a simple upgrade that makes a noticeable difference in the final cheesecake.
Author: Amy Duska